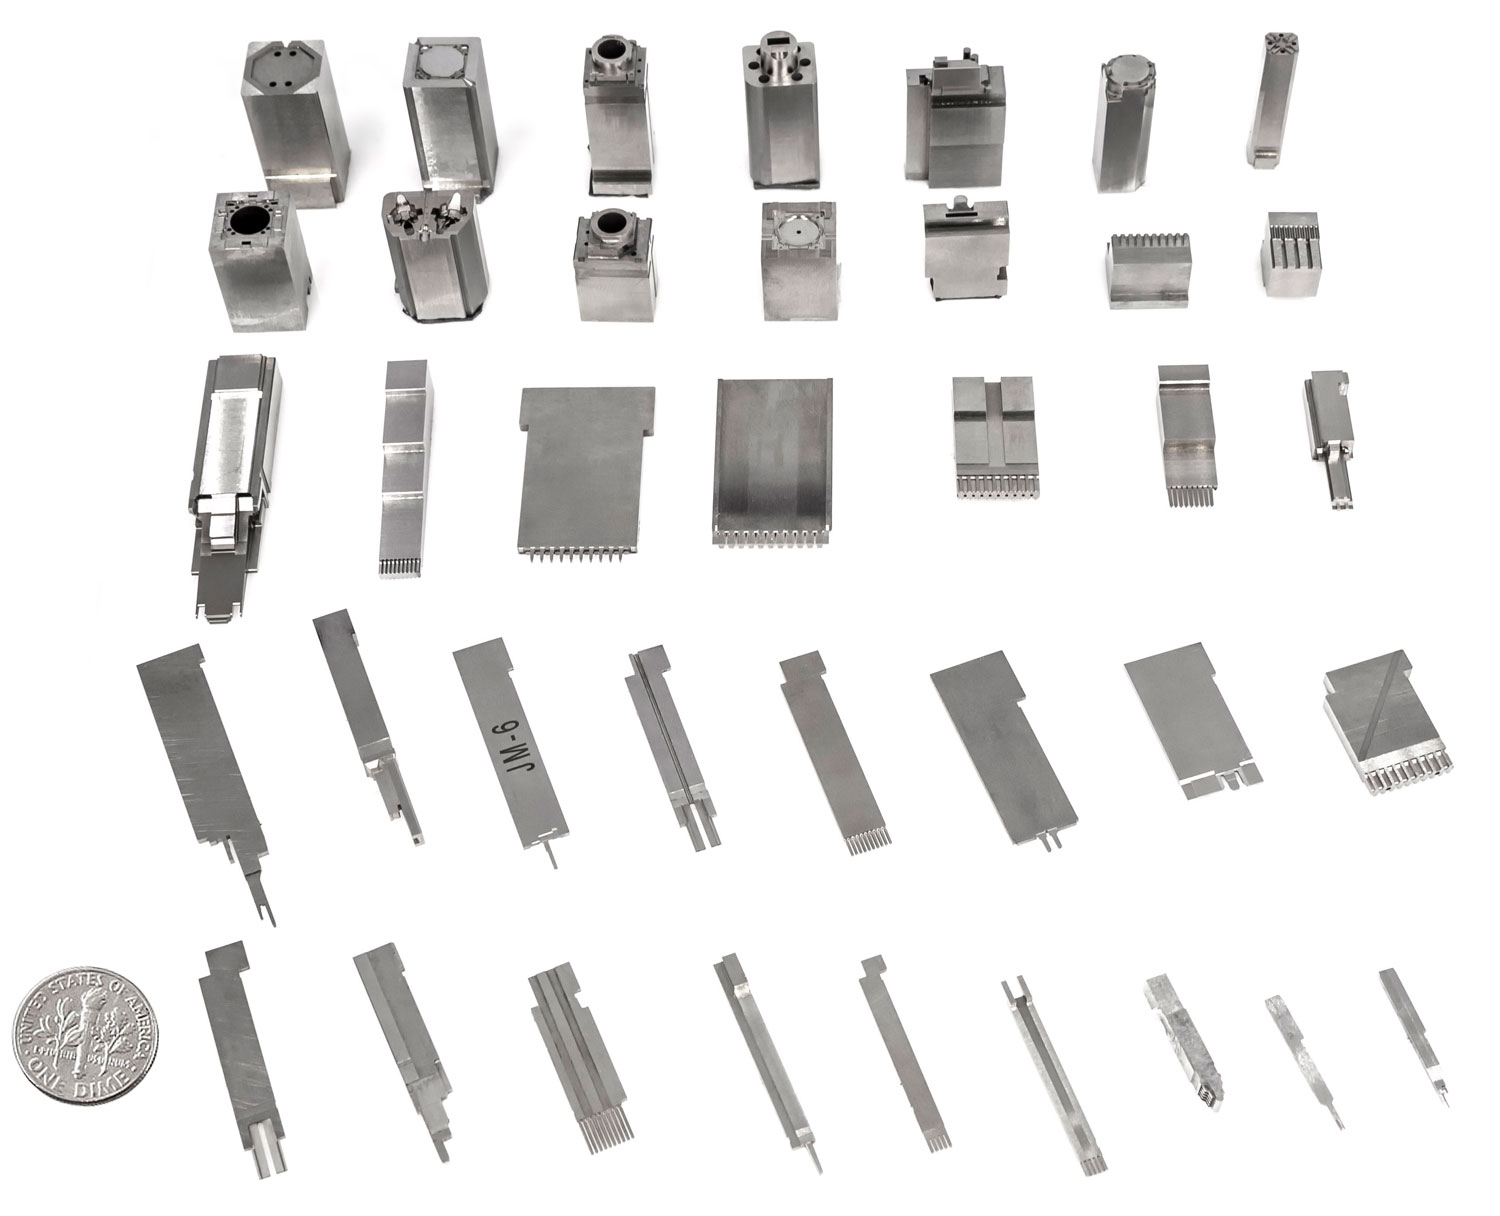
Machined Parts
Overview
Janman’s machining capabilities are the foundation of our value to customers. After 35 years of precision machining, Janman has developed into a unique machining services provider. We have over 55 dedicated machinists who operate over 3 shifts for 24-hour production. Janman’s size and history have led to strategic specializations of each machining process with an overarching Planning department. We control the workflow of each piece from the quoting phase until the parts leave our facility.
Tolerances: Expertise in tolerance down to ±1 micron (±0.000040”)
Quoting: Typical quoting times within 48 hours.
Lead Times: Typical machining times 3-4 weeks, with capabilities to expedite.
Medical Components
Janman machines surgical-related components to customer specifications.

Common Materials: Stainless Steels 304, 316L, 17-4 PH SS, Titanium
Special Materials: PEEK, Ultem®
Common Applications: Surgical (Laparoscopic, Endoscopic, Vascular), Testing and Diagnostics
Tooling Components (Spare parts)

Common Materials:
‧ AISI: S-7, H-13, M-2, D-2, 420SS
‧ DIN: 1.2842, 1.2436, 1.2767, 1.2358, 1.2343
‧ Bohler/Uddeholm/Assab: VIKING, CALMAX, 8407 2M, STAVAX ER, ELMAX, VANADIS
Capabilities
Our leaders have always aspired to be the go-to partner for our customers, thus Janman’s machining capabilities have continued to expand over 35 years. Below is a list of current capabilities, but for specific questions related to your needs, please Contact our technical sales department here.
| Process | Tolerance | Surface Finish | Additional |
| Surface Grinding | ±0.001mm [.000040”] | Ra 0.10μm | Smallest Pitch: 0.3mm [.012”] |
| Wire EDM | ±0.002mm [.00080”] |
Ra 0.20μm [VDI 8 or better] |
Wire: Ø0.05mm [.002"] Starting Hole: Ø0.13mm [.005”] |
| High Speed Milling | ±0.002mm [.00080”] |
Ra 0.20μm | Milling Tip: Ø0.05mm [.002”] |
| Vertical EDM | ±0.002mm [.00080”] |
Ra 0.20μm [VDI 8 or better] |
Inner Corners: 0.02mm MAX [.0008”] |
For information on our facility and machinery, please visit FACILITY.
Quality
Janman’s 6-Sigma quality management system is centered around planning for quality, checking for quality, and documenting quality. This level of planning and checking increases upfront costs, but ensures we have quality parts within the lead time, and our customers receive the same quality of parts every time.
Below are some examples of how Janman upholds its reputation for high quality:
Planning:
‧ Quoting phase reviews
‧ Order-phase drawing/model reviews and scheduling
Checking:
‧ Self-Checks (dimensional & visual inspections) carried out by each process toolmaker, written on
Workpiece Control Drawing, and verified by subsequent department
‧ Final deburring and DImensional Checks carried out in the Final Assurance department.
‧ Most dimensions checked using Optical measurement methods to ensure unaltered workpieces and
high accuracy
‧ All machining and metrology equipment are in climate-controlled environments.
Documentation:
‧ All parts are packaged with customer/part/order information
‧ Standard Full First-Article inspection reports with each shipment. Standard 25% inspection rate for
low quantities. Per customer AQL requirements for higher-quantity production parts.
‧ Parts are photo-documented before packaging and shipping, adding an additional level of traceability.
‧ Documented calibrations by external companies.
For more information on our Quality Assurance Department, please visit FACILITY.
Janman’s expertise in high-level metrology led Janman to pursue certification by the Taiwan Accreditation Facility (TAF). With this, we offer certified 3rd party inspection services under a wholly-owned subsidiary, co-located at the same address as Janman.
